Drawing Considerations
Corners:
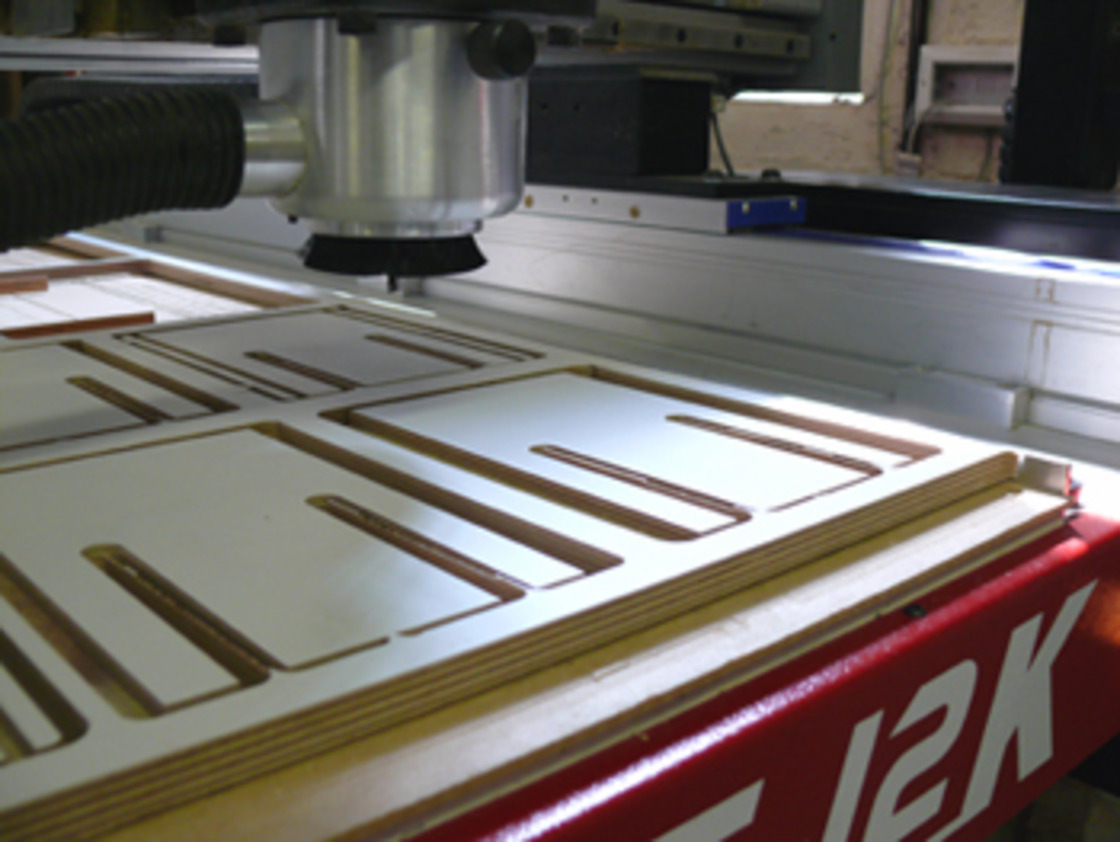
All the cutters are circular which means that internal corners will have a radius left the size of the cutter. The smaller the
diameter of the cutter, the smaller the radius of the cut.
Depth of cuts and diameter of cutter:
Generally the rule is that each time you cut into the material you can only go down as deep as the cutter is wide i.e. if you
use a 6 mm cutter each cut can only be 6mm deep. As an example if your material is 18mm thick we will have to pass the
cutter over the material 3 times. So the wider the cutter the more material it can clear and the faster and cheaper it will be.
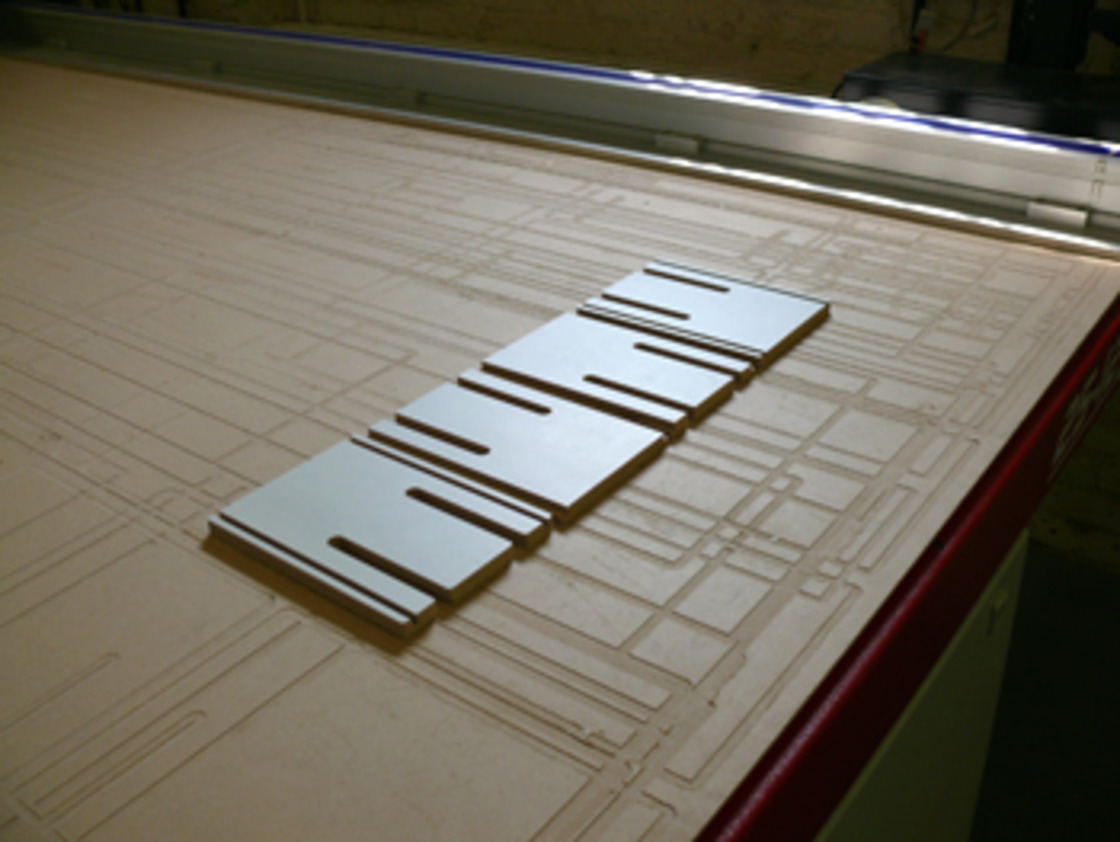
Space between components:
Smaller or thinner items (anything smaller than 300 x 300mm or thinner than 150mm in any direction) tend to move
around during cutting as their surface area is not big enough for the vacuum to hold them securely in place. To deal with
this the machine is programmed to leave tabs, small areas where the material is not removed, a bit like an Airfix kit. This
means that you need to allow enough room around the smaller items so that there is enough material left to hold on to.
We recommend leaving at least 35mm between smaller items.
Cutting depths:
The machine can cut to different depths, not just all the way through.
Work Area:
The size of the cutting area is 2440x1220mm but please be aware that you need to keep to leave a border around the
edge of your sheet. This should be at least 5 mm + the width of the cutter.
Fills:
The machine can cut an area to be cleared within a shape, rather like the fill tool on Photoshop or Illustrator. However this
can make for a lot of cutting if large areas need to be cleared.
Holes:
Holes are fine too.
Cutters:
There are loads of cutters available - http://www.wealdentool.com/acatalog/RouterCutters1.html
If you need a specific type of cutter let us know and we will order them in for your job.
Standard cutters are 3mm, 4mm, 6mm, 8mm diameter.
Offsets:
The machine can cut on the line, offset outside the line or offset inside the line, and you will need to specify which. If you
cut along the line with an 8mm cutter there will be 4mm cut off either side of the line. But if the line is the actual edge you
want then you will need specify which side of the line you want us to cut.
Preparing Your CAD file
We use custom designed software to read your drawings, produce a quotation within minutes and then program the
machine. This means that you need to get your files set up in the right way for our software to read. See ‘The Machine’
section to understand the basics of what you could do and how to design for the machine.
How to prepare your drawing:
1. All files must be supplied as layered DWG files for AutoCAD 2000 or R12/R13
2. Draw the board you want to cut from (maximum size 2440x1220mm) with the bottom left corner defined as 0,0
co-ordinates. The board needs to be drawn landscape, not portrait.
3. Check your units: 1 unit should = 1 mm
4. Offsets:
To create an offset, the lines on the drawing must be a closed continuous shape otherwise the machine can’t determine
the inside or outside of the shape.
Some CAD programs have ways of checking if a shape is closed or not. One simple check we use is to extrude the shape
in 3D with a cap as most programs can’t cap the extrusion unless it is a closed shape.
If you are drawing in Adobe Illustrator use the path/join command and this should close any gaps.
5. You can cut to different depths and use different cutters within the same drawing, but you need to tell us what you
want. To do this put the different types of cut onto different named drawings layers exactly like the example below:
0BOARD12mmbirch ply
13mmTool2mmDeepInside
28mmTool _2mmDeepNone
36mmTool9mmDeepFill
48mmTool12mmDeepOutside
To explain:
The first number in the layer name defines the order of cutting, with layer “0_BOARD” defining the work area, the thickness
and type of material.
The second part of the layer name defines the diameter of the cutter. For example “8mmTool” is an 8mm diameter cutter.
The third part of the layer name defines the dept of cut. This can be the full depth of the material or any depth in between.
The fourth part defines the type of cut, whether it is on the line, offset inside, offset outside or a fill
It is really important that you set your levels up correctly as these will be read directly for pricing and cutting.
You can use up to 10 layers per drawing. If you need more please give us a call.
Drawing Software:
We recommend Rhino 4 as a good all round package to prepare your drawings in.
From 3ds Max – export as an .ai Illustrator format to Rhino (this avoids issues with faceting of curves) then save as DWG
From Rhino – save as AC2000 DWG
Microstation – save as AC2000 DWG
Form Z – save as AC 2000 (or older R12/13) DWG
Adobe Illustrator – save as DWG
Once you have exported your DWG re-import it to check that it still looks like the drawing you exported. It is worth checking
if your curves are fragmented (faceted) as this can be a common problem.